How do I mark an item as Claimed Return if the item is in a Lost status?
Answer
Change a Lost Loan to Claimed Returned
If a patron claims to have returned an overdue item to the library, we should mark the loan as Claimed Return. However, once an item becomes Lost in Alma, the item action menu will no longer display Claimed Return as an option.
To mark the Lost loan as Claimed Return, do the following:
- Go to the patron's account in Manage Patron Services
- Find the loan that that patron claims to have returned
- Click on the More Actions menu and select Found Item

The Loan Status will now be set to Normal
- Select the More Actions menu again, and mark the item as Claimed Return

- Optionally, you may include a note with details relevant to the claimed return item. You will now see that the Loan Status is changed to Claimed Return.

Clear the Replacement Cost Fee
If you've followed the above process and changed an item from lost status to "claimed returned", there will still be a lost item replacement fee on the patron's record. This fee is not automatically removed when an item is marked found, and this fee has likely been transferred to PeopleSoft.
Library staff should clear this fee while researching the claimed returned item. At the end of the research process, the Library may reinstate this fee or resolve the loan (e.g. item checked in, appeal, etc.).
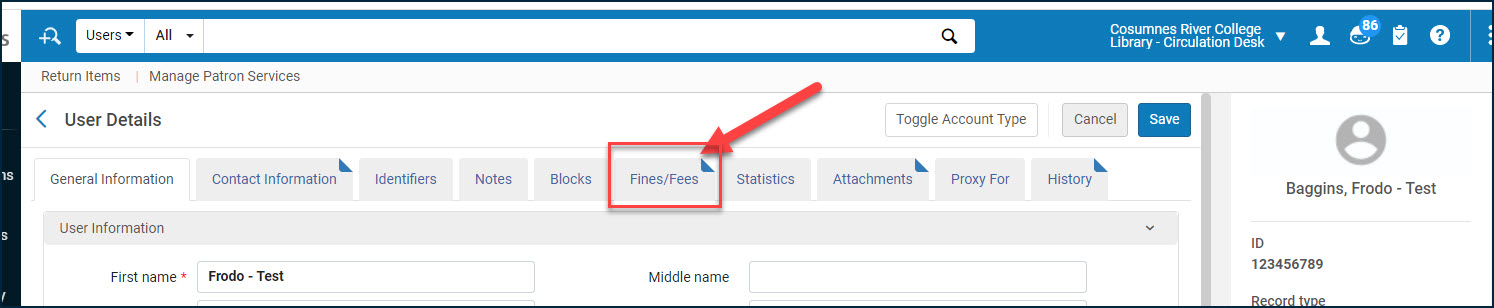
- Navigate to the Fine/Fee tab on the user record.
- View the transferred or active fees and find the fee associated with the item that was claimed returned.
- Select the more actions menu to the right of the fee.
- Click Waive.
- Select Waiving Reason from the drop-down menu then click the Waive button.
Note: Please review and choose the appropriate waiving reason. For claimed returned items, this should normally be Lost item was found. If you wish, you may select Other as the Waiving Reason; in this case, please add notes in the Comment box.
- View the dialog box and click the Confirm button.